Hank and I have been making 2 Girardoni rifle replicas. This gallery shows some progress to date.
Bridles rough milled from mild steel
More material removed
slot for sear cut
Slot refined
Bridles fitted to lockplate stock
Lockplate layout for bridle – lockplate drill jig lower
Bridle fixed to drill jig
Indexing receiver casting before adding fixturing metal
Fixturing metal poured around casting
Receiver centered in lathe
Faced and centered
Receiver end threaded and machined square
Receiver end – note hole for valve striker rod and slot for trigger plate
Trial fit of flask to verify fit of thread
Fixture in boiling water – metal melts at 180 F
Lift out receiver with pliers
A little metal stays on receiver – cleans up easily later
Square hole with taper
Oblong hole milled into block
Square M2 tool steel incremtally scraping walls
Work all 4 sides – the bar is tilted for one wall to taper
Keep cutting – ~.003″ at a time
Keep cutting
Top and bottom flush cut
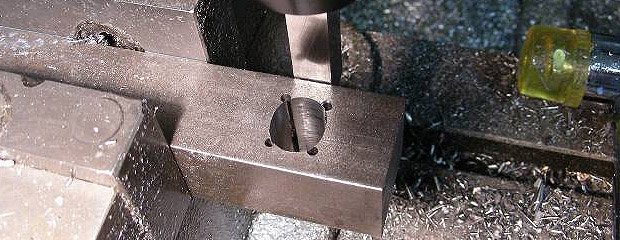
Started with 5 holes
Mill out the bulk
Line up the tool with an edge
Cut, cut, cut
Brass shim gives clearance to face of cutter
Breech block mounted to receiver – 2nd block started below
Breech block
Breech block – sideview
Breech block with loading bar
Wax patterns for the bronze furniture

