Undaunted Courage – HBO miniseries

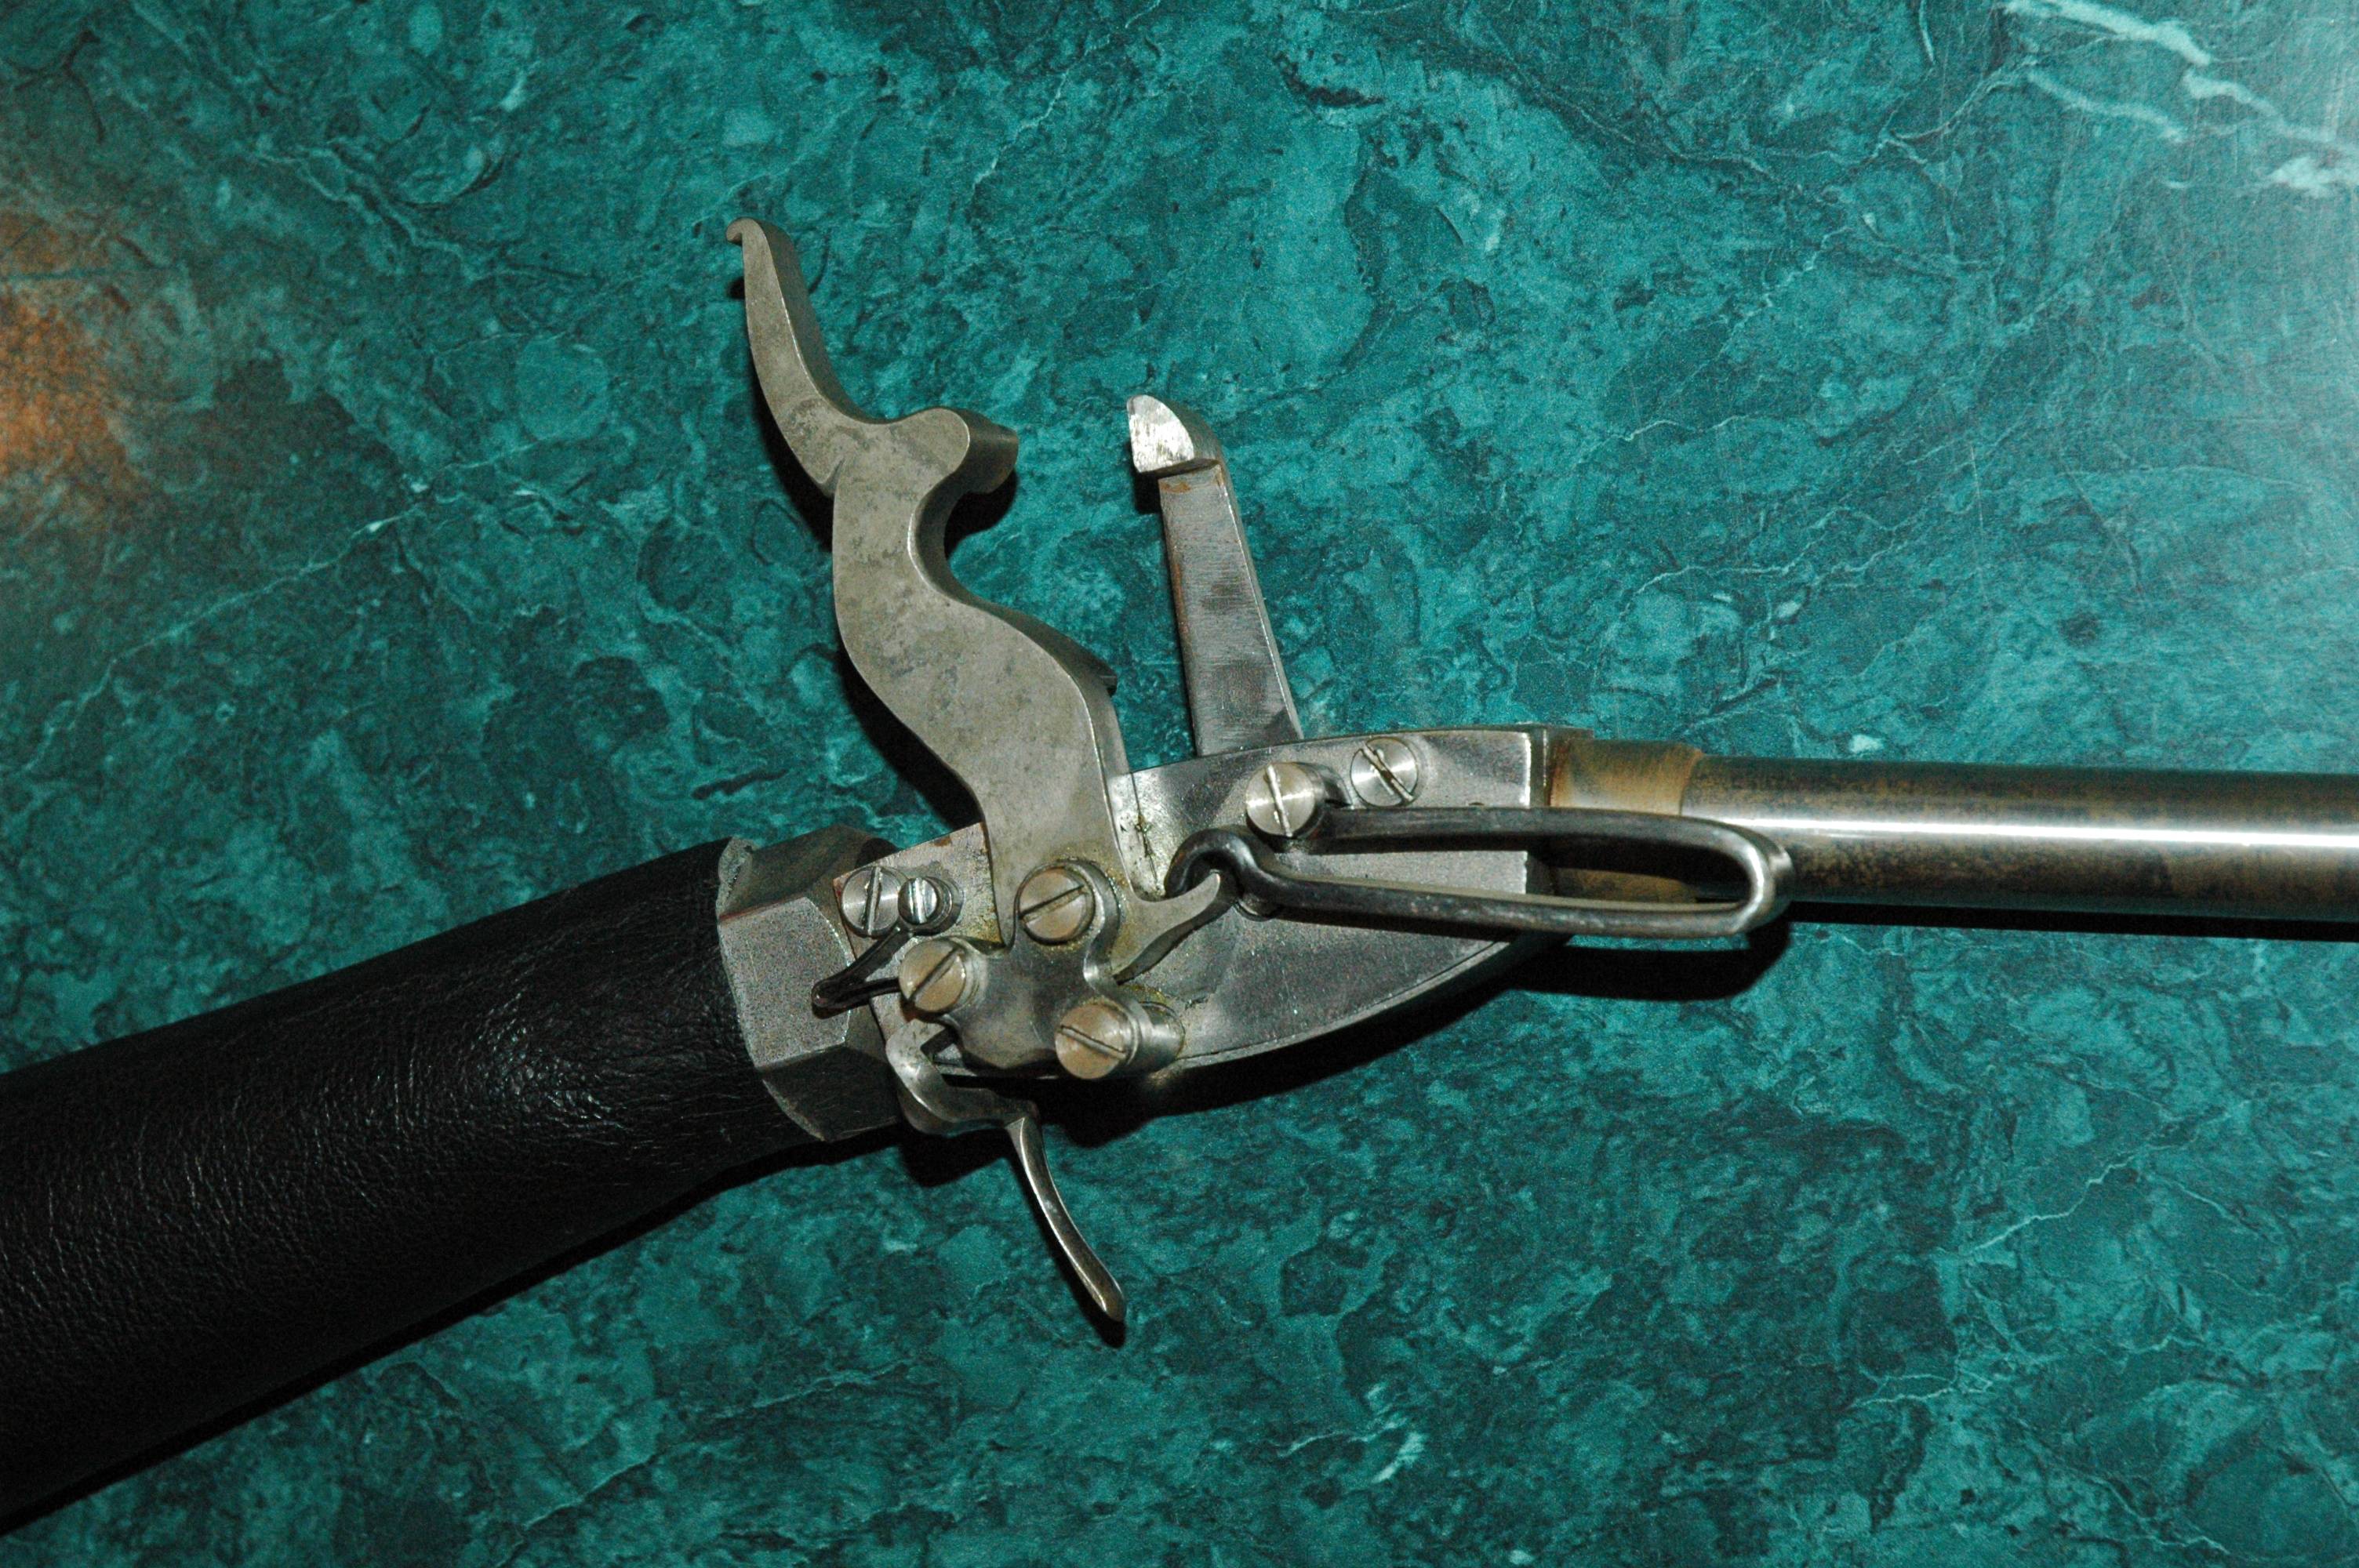
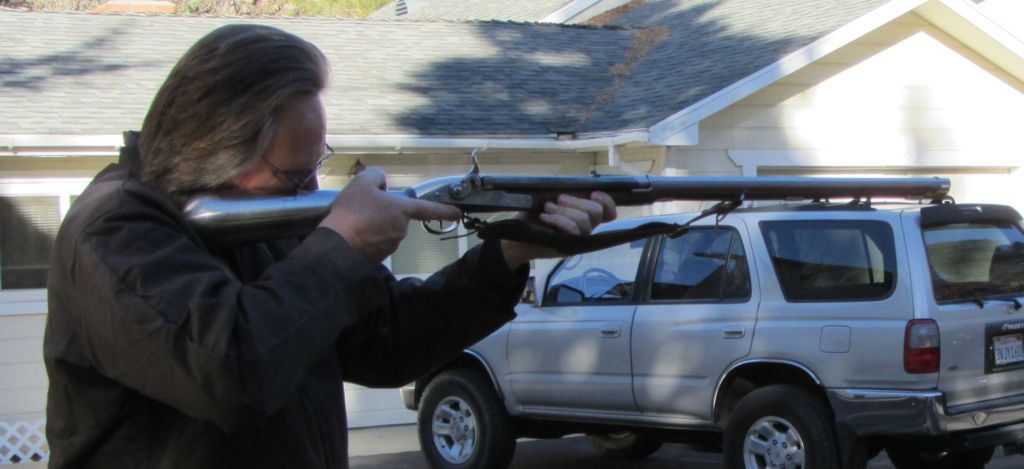
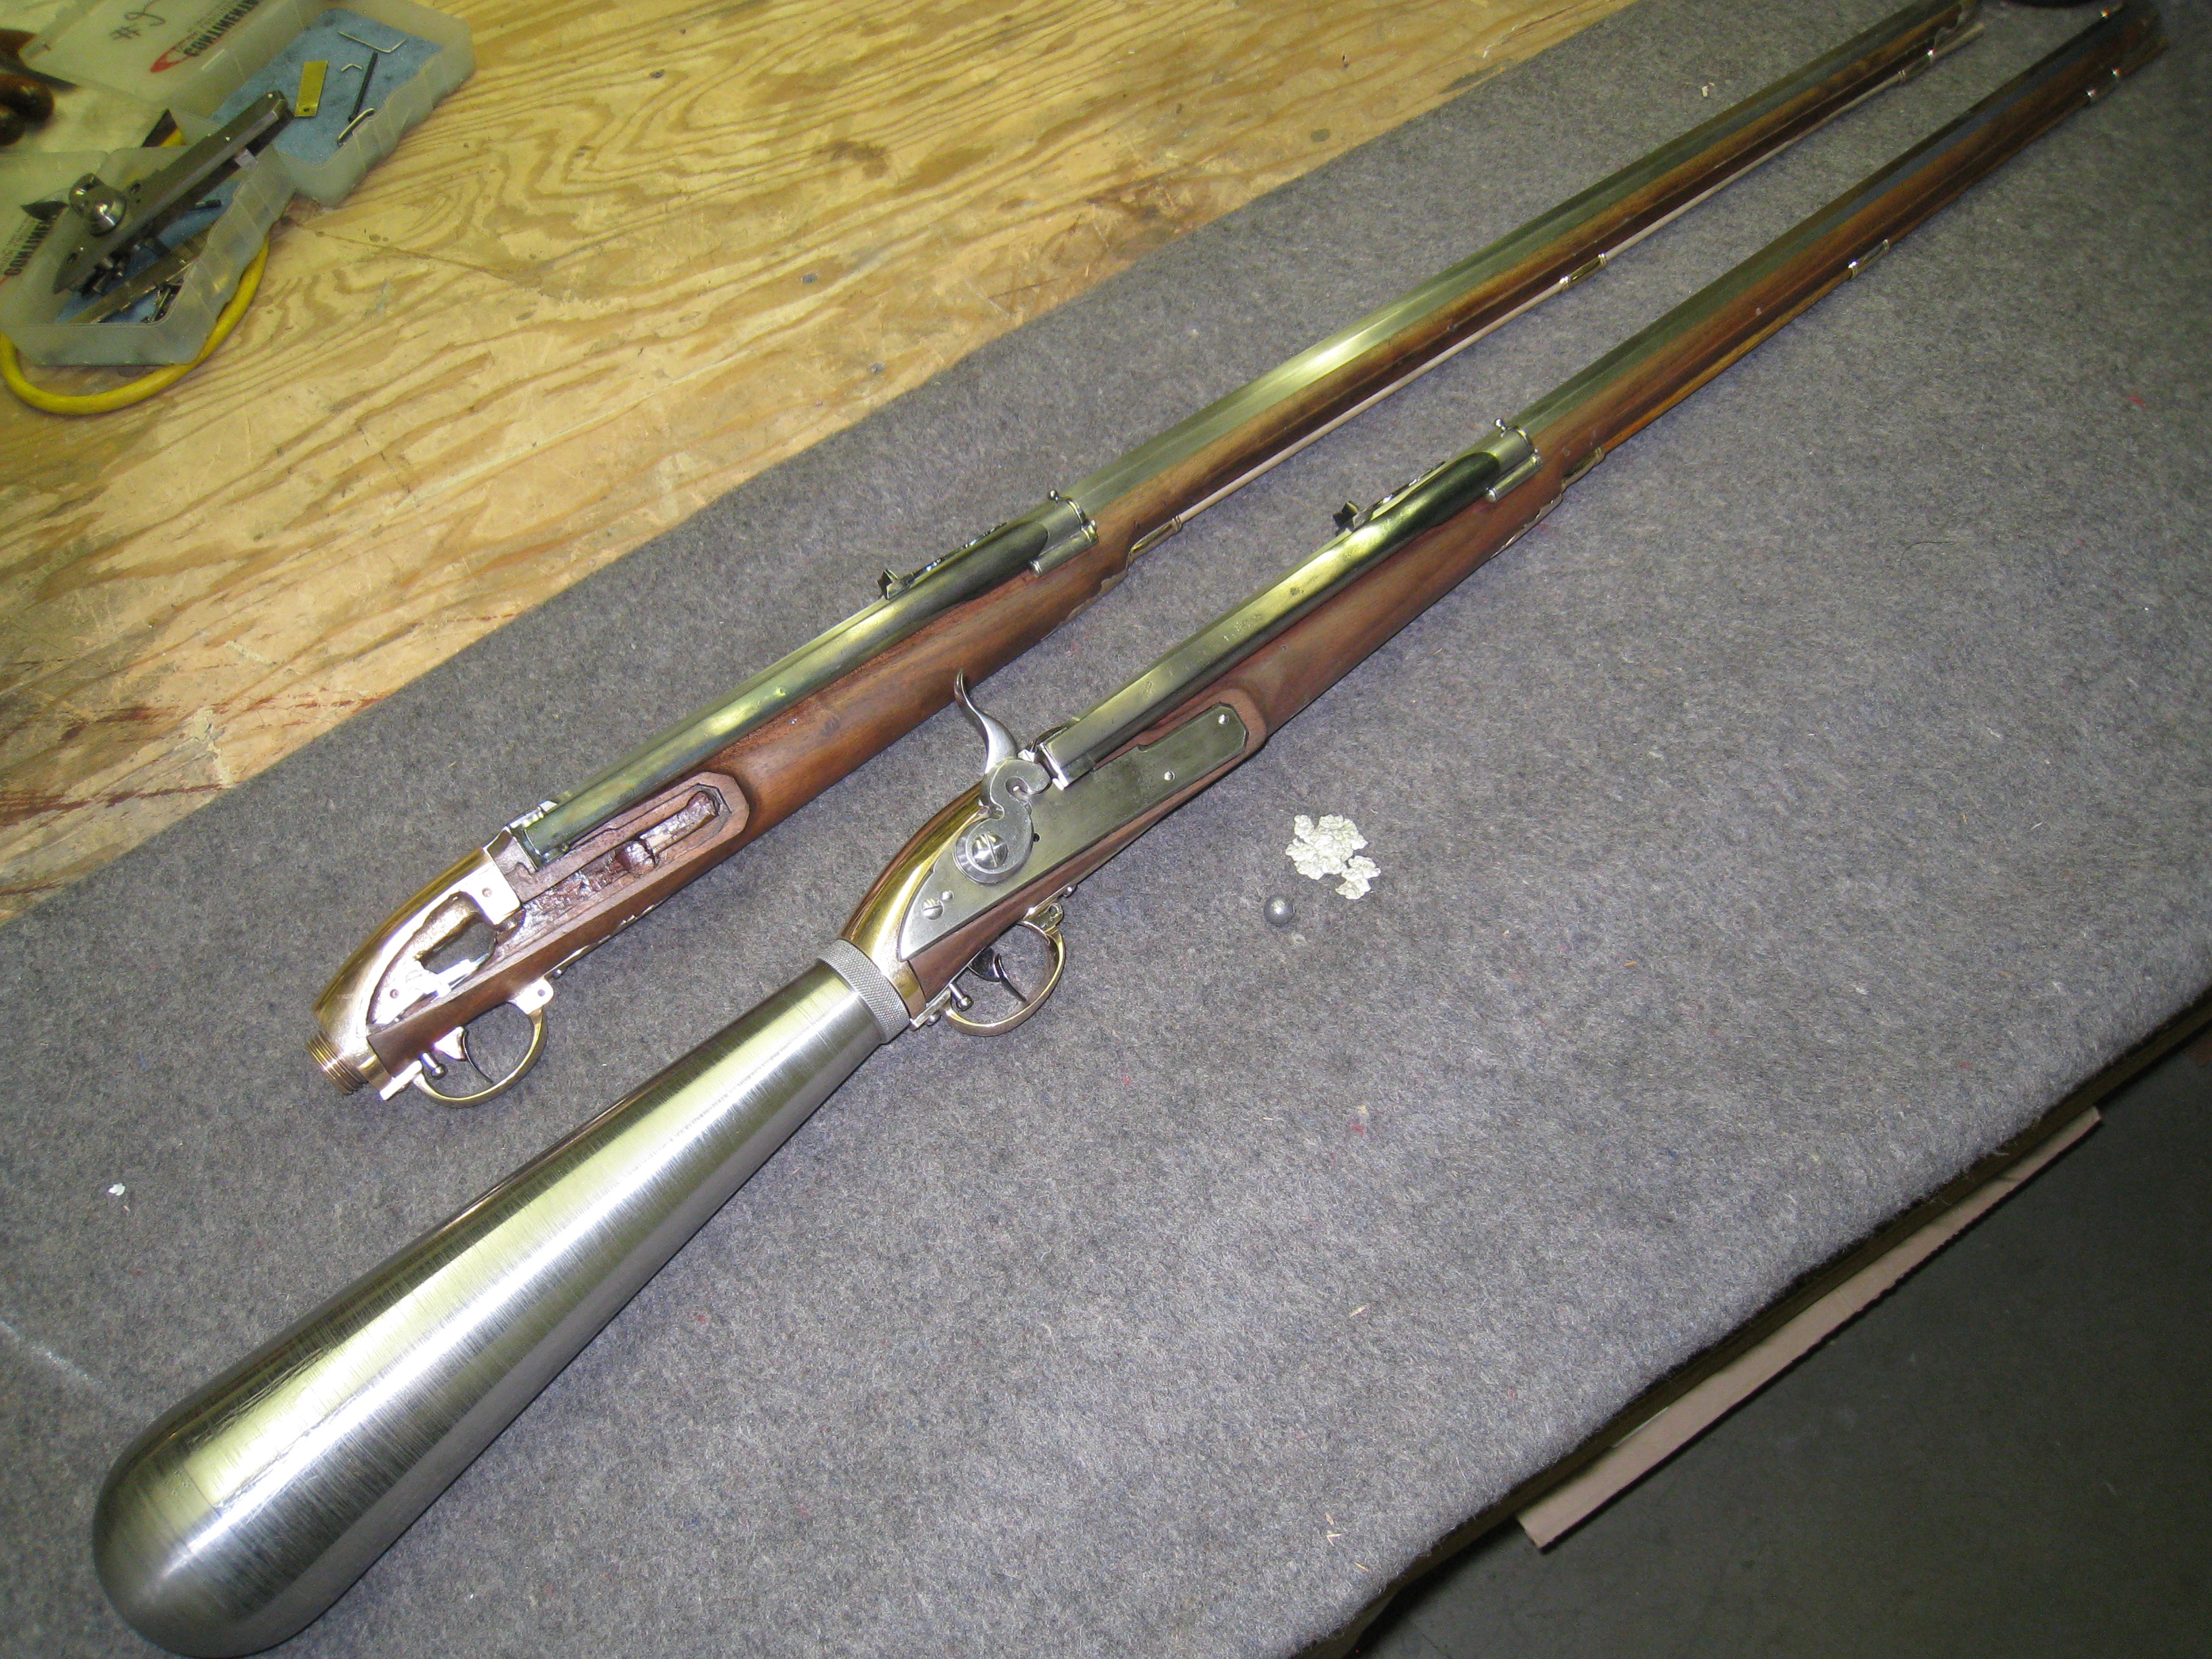
HBO is currently filming an adaptation of “Undaunted Courage” by Stephen Ambrose.  (HBO miniseries)  They contacted me to acquire a Girardoni for filming.  A contract was signed and off went my rifle to Canada.  There,  two hard rubber props were made for filming.  One of the props was partial compensation for use of the gun.  My replica and that prop are seen in this post.

I donated the prop to the Lewis and Clark Interpretive Center in Great Falls, Montana.  It will be displayed and featured in talks given by the park rangers.

Hopefully,  the series will be completed and aired.


Later,    Martin

1/24/2016

The display is currently up!

IMG_1896

Gun Stories with Joe Mantegna

Greetings all,

The final episode of Gun Stories on the Outdoor channel featured Airguns.  I was interviewed and shot some guns at the range for the show.

Range video can be seen here: Range video

Trailer for the episode here:     Gun Stories Airgun episode

The guns featured were the Girardoni, Lukens and an outside lock.

I also attended the Pacific Airgun Expo earlier this year.

_73A0690

Later,    Martin

Shooting the Girardoni

With all new guns comes tuning for performance and efficiency.  Various factors effect the tune,  some fixed, others variable.

6X6 bottom

This is a 6X6 Douglas fir post with numerous balls fired from 25 yards.

fused balls

The impact energy is sufficient to fuse balls together.

.279 vs .302 valve orifice

Valve orifice diameter is a variable which effects gas flow.  As can be seen above,  it is directly proportional to power (FPE) and and inversely to efficiency (FPE/CI).  The efficiency is how much power per volume of air at STP can be obtained.

Spring vs no spring

The valve spring slows the opening and speeds the closing of the valve.  Many have theorized that an airgun could be operated with no spring.  This graph shows that to be true.  However,  the power goes up disproportionately to the amount of air consumed per shot,  hence the efficiency is almost half without the spring.

cast vs swaged

The type, diameter and preparation of the lead ball have effects on performance.  All rounds shown are 100% lead.  The difference of .003″ is negligible between the .457 and .460 rounds.  The Swaged balls seem harder and have a pronounced decrease in performance.  Also note that the unlubed balls are more erratic and even lesser in performance.


Gir_HS lock

Here is a high speed video of the lock in action.  1000 fps – Casio EX-ZR1000

Hank HS shoot

Another high speed video of the gun being fired.  Note the oscillations of the hammer on the mainspring.

Airgun Valve

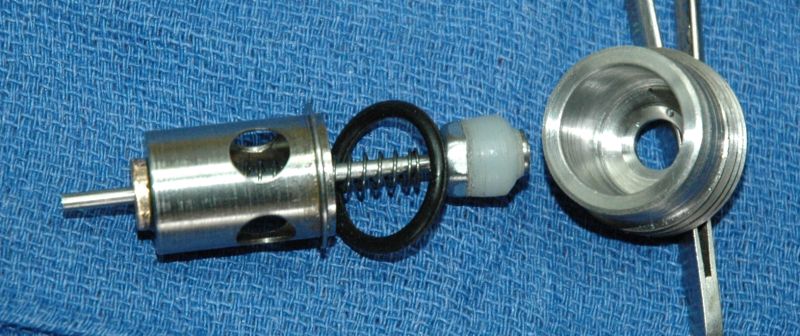
The original valves on the Lukens and Girardoni rifles used horn and leather seals in conical or bellshaped valve seats.  I have made them using delrin and UHMW valve  heads that are conical or flat with the seal into a tapered orifice.

valve apart

The valve on the right demonstrates the tapered valve head.

valve semi

The valve stem is placed in its retainer with spring and o-ring.  The orifice is seen to the right.

valve end apart

Here is another view.

neck open

The valve, retainer and o-ring are placed into the neck of the reservoir.  Note the depression in the center of the valve head.

This centers the actuating pin on firing.

neck assembled

The valve orifice is screwed into the reservoir,  seating the valve, retainer and o-ring.

filler

A brass fill adapter with foster fitting is inserted.

gauge

A gauge is attached to the back end of the reservoir to monitor fill pressure and air use as the gun is fired.

Video of valve and flask

vented flask

Girardoni conical flasks

The original pressurized buttflasks of the Girardoni rifles were made of rolled and hammered iron sheet.  This was riveted and brazed together with a hemispherical end.  Herr Girardoni had a high failure rate during testing possibly due to inferior materials.  The narrow end was internally threaded to accept the valve.  This method has been duplicated by Ernie Cowan on his replicas,  and are well made.  We are making guns to be used often and want the safety of modern materials and methods.

Unassembled buttflasks

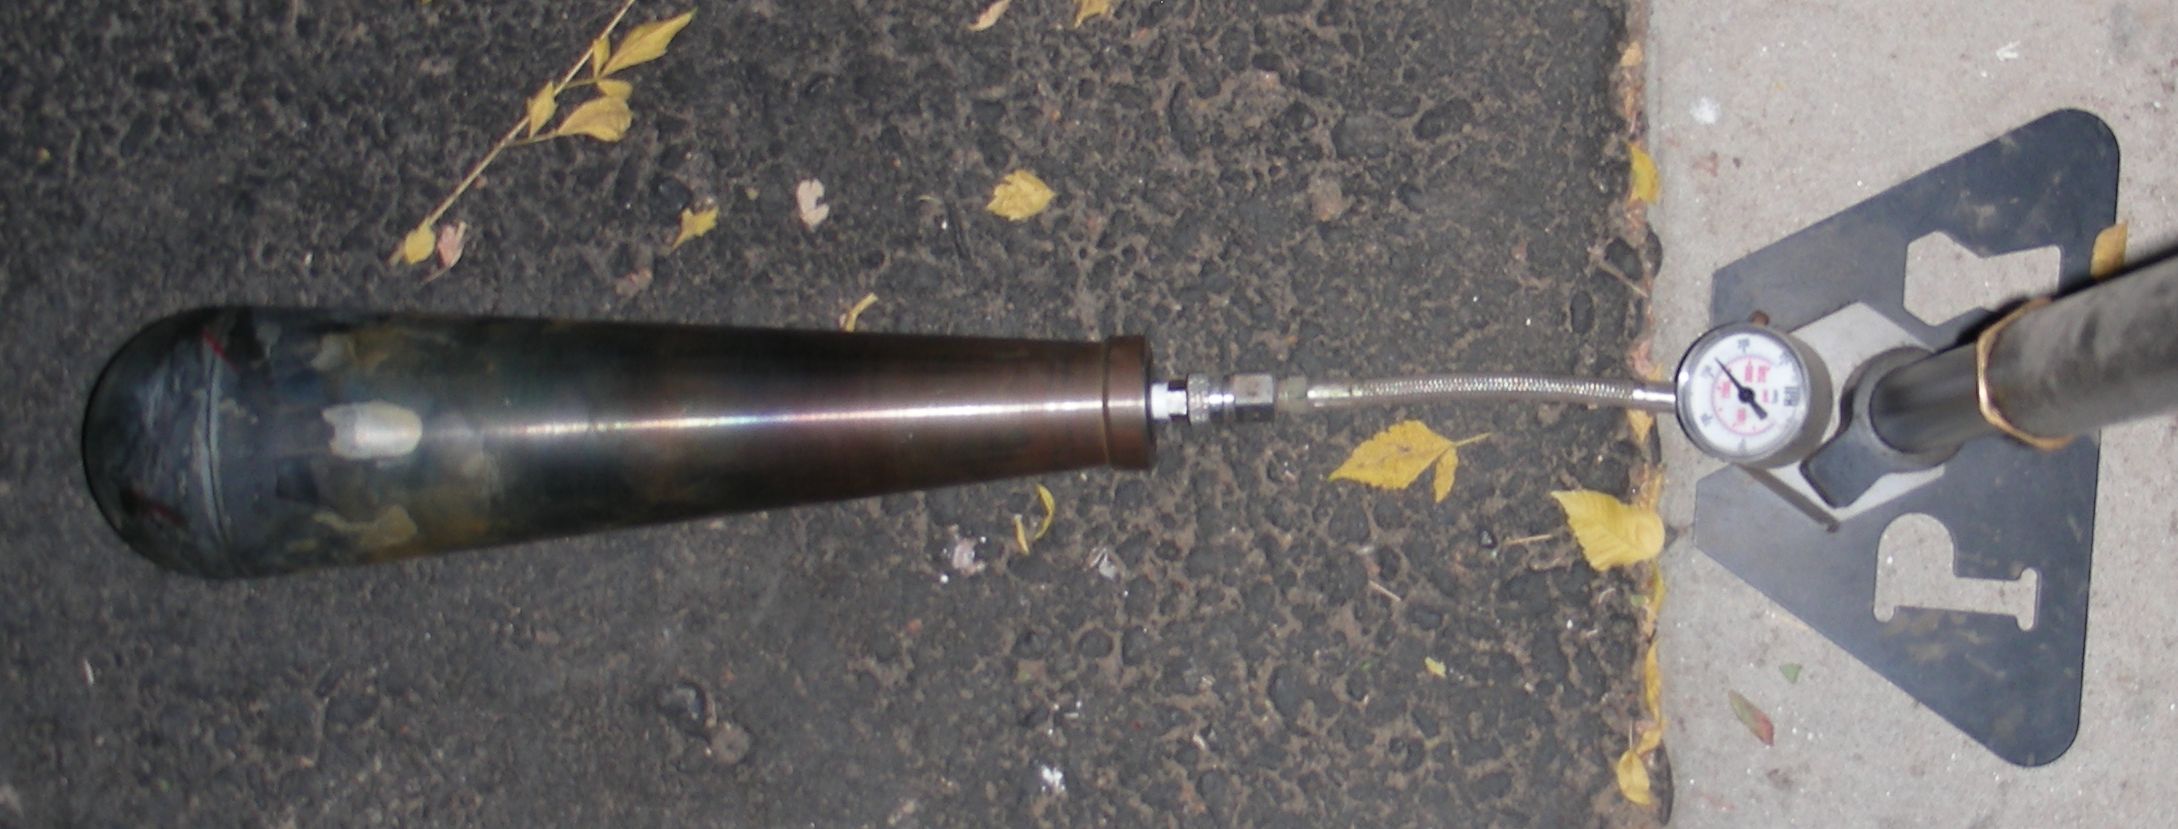
I had the flasks machined from 3.5″ 10L14 steel bar.    My lathe and skills are not up to creating that much swarf .  The design and material will allow allow a 3,300 psi working pressure with yield at twice that.  One flask has a flat end so that I can have a pressure gauge inset in a detachable hemispherical end.  This will also make it easier for testing, data collection and experimentation.  Hanks has a completely round steel end.

Flask assembled for brazing

The flasks were assembled with black flux and 56% silver braze.   Insulated firebricks are set atop a cinder block to allow the flask to stand upright into a kiln.

The heating element is placed around the flask…

The kiln lid is placed on top.  A thermocouple has been inserted into the flask to keep tabs on the temperature.

The kiln is brought up to temperature.  The joint is inspected and the unit shutdown.

Braze melting temperature is 1205 degrees Fahrenheit.

The flasks are descaled and pressure tested.  The flask is filled with water,  an adapter placed and pressurized to 2,500 psi.  I usually leave flasks pressurized for 6 hours,  checking for leaks and distortion.  The flasks will probably be operated at less than 1,000 psi,  so we have a large safety margin.

Later we will thoroughly clean and line the flasks with a grease/beeswax mixture.  A leather cover will finish the exterior.

Next time I’ll show the valve design.

Lapping barrels

Last weekend I lapped the barrels.  This consists of making a close negative of the barrel bore and rifling in pure, soft lead, coating with an abrasive paste and pushing and pulling it through the barrel repeatedly.   This  smooths out machining marks and irregularities.  Also one can determine if there are tight spots in the bore and correct them.   One can also ‘choke’ or taper the muzzle end of the bore for better gas seal and accuracy.

First a ‘jag’ is made.  Threaded on the left to attach to the lapping rod,  grooved and knurled to securely hold on to the molten lead.

Next a string is wrapped around the threaded end.  This keeps the molten lead from running past the jag down the barrel.

The jag, string and rod are shoved up the muzzle and stopped ~1 inch short of the breech and the whole thing heated to ~400 F.

Any lead overflow is cut off with a sharp knife.  I told you the lead is soft.

The resultant lap is pushed part way out of the barrel for inspection.  Sometimes voids appear due to underheating the barrel or an uneven pour (learning curve).  This is a good one…

Grooves are filed into the lap to retain the abrasive compound.  The lap is coated with the lapping compound..

The lapping rod is attached to a handle assembly (flanged bearing bolted to 1/2″ galvanized pipe with bicycle grips).  The barrel is placed in a sturdy vise.  And the labor intensive part begins.  This will replace rowing machines, eventually…

The lap should not leave the barrel at either end of the stroke.  Otherwise it’s very difficult to get it back in properly.  There is a great deal of resistance at first and each time the grit is renewed.  I could feel differing resistance at certain areas of the bore which eventually became uniform.  After several strokes,  it looks like this..

You can see the rifling.  Note the linear marks from the rifling cutter.  The abrasive has embedded itself in the surface of the lead.

I used 220 and 380 grit on these barrels.  Finer grits are available.  You need a new lap for each grit – no mixing grits!

Here’s the bore after lapping..

And some .457″ balls after passing through the bore..  I lapped more toward the breech end and less at the muzzle.  When passing balls through the barrel,  one can feel them getting tighter at the muzzle.  This constriction is the ‘choke’.

Now,  this process involves HEAT, lead fumes and icky lapping compound.  Not for the average home project..  Just what I’ve done,  not that it’s the only way or even recommended!

~30minutes to make each lap (4 made,  2 per barrel,  1 each for 220 and 380 grits).  ~2 hours of lapping per barrel.

These barrels are almost ready to be inlet into the stocks.  The muzzles need to be lapped,  the breeches filed and polished to seat on the sliding loading bar and secured to the breech blocks.

Later…    Martin

Tapering Barrels

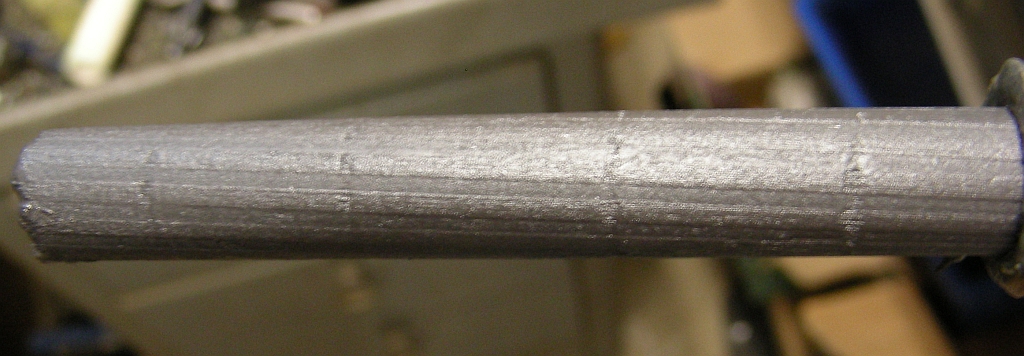
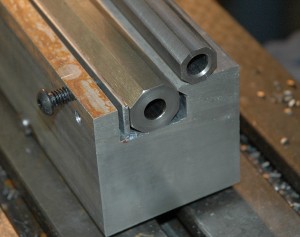
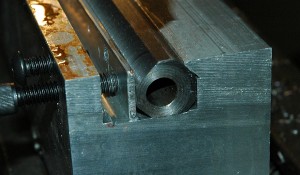
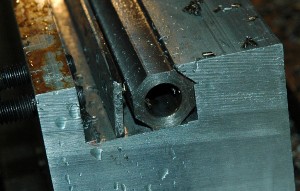
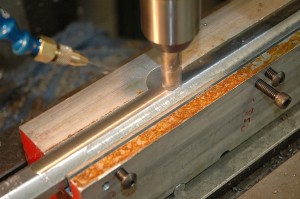
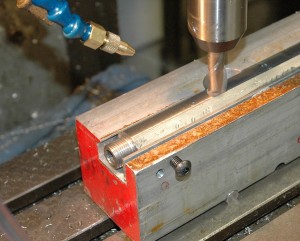
Today I tapered the two octagonal barrels.   A jig was made from a 4 inch square by 3 foot long block of 6061 Al.   A slot with a 45 degree undercut was cut.  Allen head bolts were inserted to tighten against a steel bar to clamp the barrels.

Tapered barrel compared to original in fixture

Three round grooves are cut into the base of the fixture.  The right one clamps a 1/2 inch drill rod to the table.  The left two grooves are used to clamp 2 different rods depending on the taper desired.  This fixture is a large sine bar.  Since I’m machining 2 different length barrels,  2 grooves proportionally spaced are needed.  Two rods are used since the taper doubles as one gets to the fifth side of the barrel.

overall fixture - click pic to enlarge
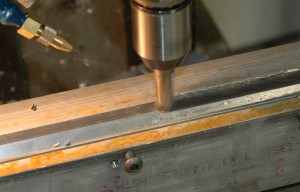
First side being milled
First rotation of barrel

.125 ” is cut from each side of the muzzle.  The breech has .010″ removed per flat.  The next 3 flats are tapered.

4th cut next

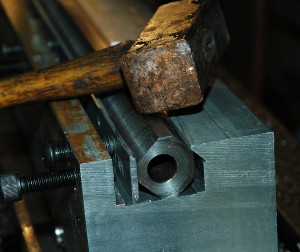
The bronze hammer is used to tap the barrel square into the fixture while tightening the bolts.

5th cut

This rotation places a cut flat on the bottom.  If the slope of the fixture is not changed,  the next cut will be parallel to the bore – bad juju.

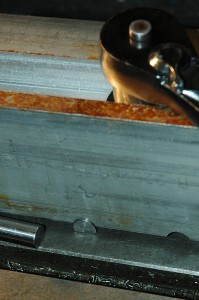
The original spacer is on the left.  The thinner spacer is in place under the fixture.  This doubles the slope of the fixture and allows tapering of the next four sides.  The groove on the right is indexed for the taper on the shorter barrel.  The fixture is bolted to the table with T-nuts, studs and flanged nuts in 1 1/4″ diameter counterbores beneath the slot.  A 3/4″ socket is used to tighten the nuts.

Final cut - muzzle

One reason such care was made in the manufacture of this jig,  is that the X-axis travel of my mill is less than the barrel lengths.   Each flat had to be cut from the muzzle to the end of travel,  the barrel shifted, the cutter re-indexed and the cut finished from the breech.  It could have been done between centers,  with a spin jig or an indexing head.  These would be prone to chatter and require multiple passes.  The rigidity of this fixture allowed a full .125″ cut on each flat.

breech overhang
Breech positioned and cut

A Kool-Mist minimum lubrication system is seen in these pix.  Approx. 1/2 gallon of fluid was used to fabricate the fixture and mill both barrels.  Clean up is quick and simple due to the minimal fluid used.  The system is very effective and allowed both barrels to be milled with one endmill resulting in a good surface finish.

Barrel comparison with rifle - click to enlarge

Total time 6 hours with photography.   It took more than 8 hours to build the fixture and cut a test barrel from a cutoff.

Hope you enjoyed this post.   Later,    Martin


Rifling Girardoni Barrels


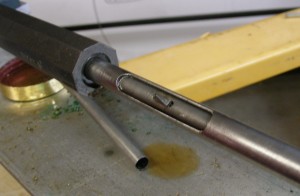
Built a new rifling head and cutter for the Girardoni rifle barrels.   The design is modified from “The Modern Gunsmith” by James Virgil Howe.  His design is based on a scraper rather than cutter as used on the 1902 Springfield rifle barrels.  It operates/cuts in both directions.  I’ve made a carbide cutter and Ag brazed it into the rifling head.

The head is placed on a rod affixed to the rifling machine and inserted into the breech of the barrel.

After pushing and pulling the head/cutter through the barrel,  a very fine swarf is produced.   The swarf resembles steel wool and is difficult to see and remove from ones skin.

The original Girardoni has 12 grooves and lands with a .463 groove depth.  We are going for a .457 depth due to the availability of that caliber ball and molds.

Two Green Mountain .45 smooth bore, 1″ octagonal barrels were purchased.  They have been rifled,  cut to length,  breeches reduced, threaded and indexed to fit into the breech blocks.   One is stock length,  the other 4″  longer.  Having seen Dr. Beemans replica,  I think a longer rifle might look better IMHO.

Time:  4 hours on the first barrel, 3 hours on the second.   Learning curve.

Next step will be to taper the barrels.  They will taper from .980″ to .750″,  breech to muzzle.

Rifling machine

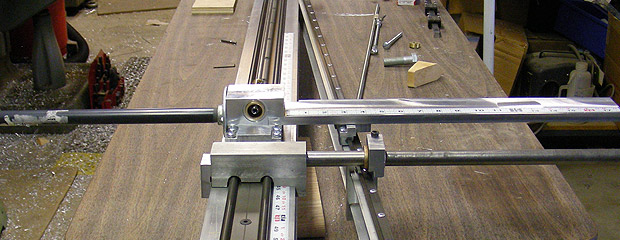
Unable to get the rifling I wanted from other sources,  I designed and built my own sine-bar rifling machine.

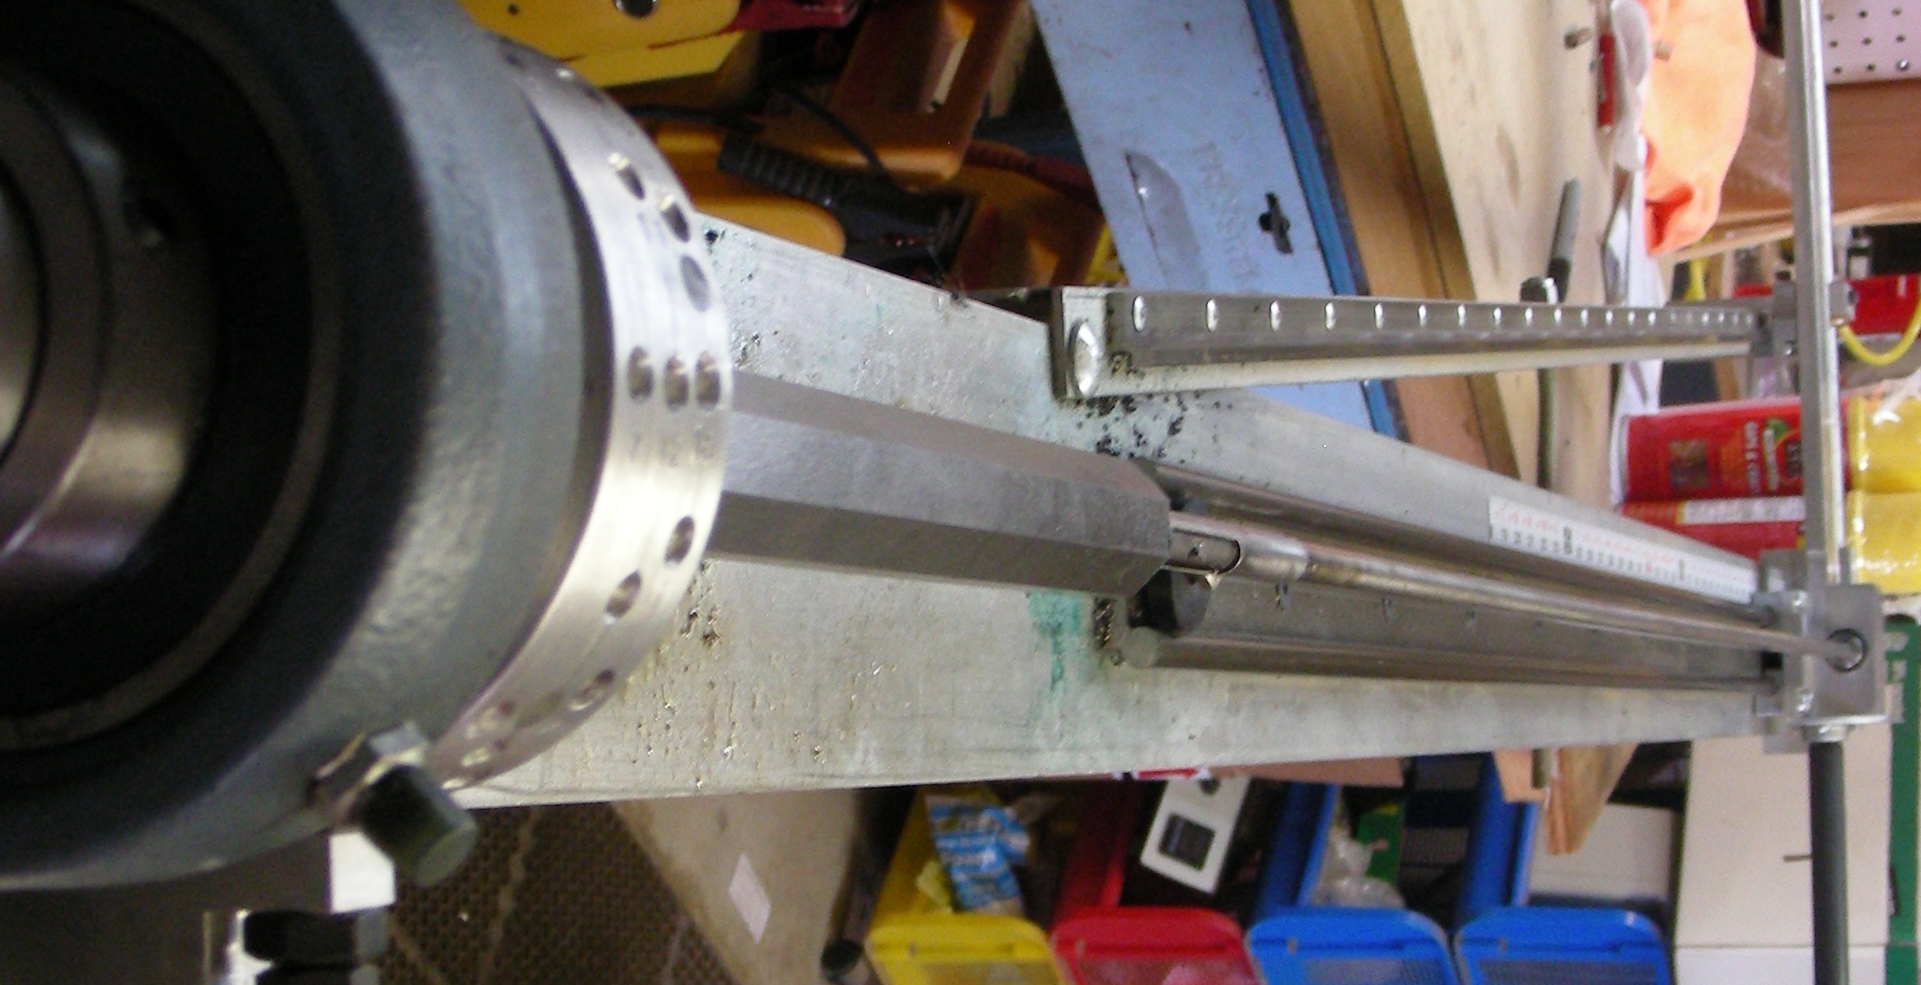
A rack and pinion are affixed to a diagonal track (adjustable) and a linear carriage.  The carriage houses the pinion gear and is rotated by the rack as they move up and down the I-beam.  Since the rack can move in and out of the carriage,  due to the angle of its track,  the rifling cutter can be rotated to give a precise and repeatable twist rate.

The following pictures demonstrate  the machine and rifling head as used for 2 of the Lukens barrels.  I’m presently making the rifling head for the Girardoni rifles.


Rifling machine

Here is the end view of the machine.  The main frame is a 4″x4″ Al I-beam.  The diagonal to the right is the sine-bar and is Al channel.  These elements have linear guides attached for smooth travel.  The Al clamp and rod closest to us is an end stop, adjustable for barrel length and twist.  The next assembly is the carriage containing the rack and pinion.  At the far end resides the barrel vise and indexer.

Carriage disassembled

Here are the guts of the carriage.  From left to right:

Carriage housing with linear guides at bottom,  needle bearings pressed into bore and rack support extending to the right.

Pinion gear with torrington thrust bearing.  The gear has a 1″ diametrical pitch,  therefore 3.1416 ” of  rack travel gives 1 revolution of the cutter.

Bronze bushing to seat gear and adjust endplay.

The rack is at the bottom of the picture. Continue reading Rifling machine