Today I tapered the two octagonal barrels. A jig was made from a 4 inch square by 3 foot long block of 6061 Al. A slot with a 45 degree undercut was cut. Allen head bolts were inserted to tighten against a steel bar to clamp the barrels.
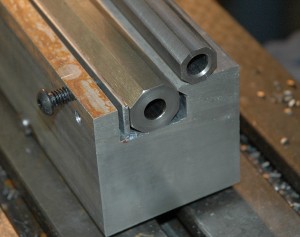
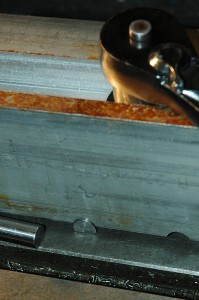
Three round grooves are cut into the base of the fixture. The right one clamps a 1/2 inch drill rod to the table. The left two grooves are used to clamp 2 different rods depending on the taper desired. This fixture is a large sine bar. Since I’m machining 2 different length barrels, 2 grooves proportionally spaced are needed. Two rods are used since the taper doubles as one gets to the fifth side of the barrel.

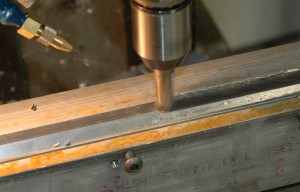

.125 ” is cut from each side of the muzzle. The breech has .010″ removed per flat. The next 3 flats are tapered.
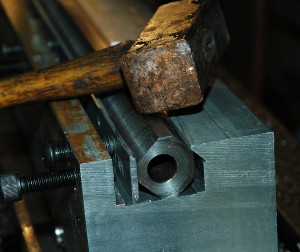
The bronze hammer is used to tap the barrel square into the fixture while tightening the bolts.
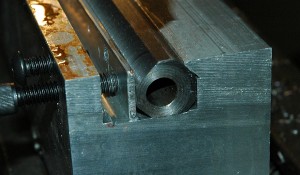
This rotation places a cut flat on the bottom. If the slope of the fixture is not changed, the next cut will be parallel to the bore – bad juju.
The original spacer is on the left. The thinner spacer is in place under the fixture. This doubles the slope of the fixture and allows tapering of the next four sides. The groove on the right is indexed for the taper on the shorter barrel. The fixture is bolted to the table with T-nuts, studs and flanged nuts in 1 1/4″ diameter counterbores beneath the slot. A 3/4″ socket is used to tighten the nuts.
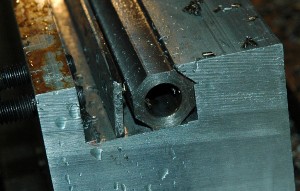
One reason such care was made in the manufacture of this jig, is that the X-axis travel of my mill is less than the barrel lengths. Each flat had to be cut from the muzzle to the end of travel, the barrel shifted, the cutter re-indexed and the cut finished from the breech. It could have been done between centers, with a spin jig or an indexing head. These would be prone to chatter and require multiple passes. The rigidity of this fixture allowed a full .125″ cut on each flat.
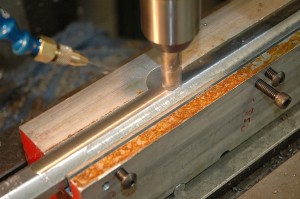
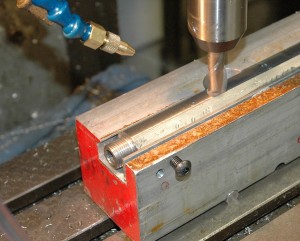
A Kool-Mist minimum lubrication system is seen in these pix. Approx. 1/2 gallon of fluid was used to fabricate the fixture and mill both barrels. Clean up is quick and simple due to the minimal fluid used. The system is very effective and allowed both barrels to be milled with one endmill resulting in a good surface finish.

Total time 6 hours with photography. It took more than 8 hours to build the fixture and cut a test barrel from a cutoff.
Hope you enjoyed this post. Later, Martin

Martin, I am building a jig based on your design. How deep and how wide did you mill your channel that holds the barrel. I would assume the depth has to be at least 1/2 the diam of the blank and it has to be wide enough to accept all blanks. I’m thinking a minimum of .625 for depth and 1.250 for width. But thinking I should go deeper and wider to accomadate a bigger blank. I’m thinking about .900 for the depth and and 1.300 for the width.